R2P2 is a shell system running on Rasberry Pi Pico series. You can explore PicoRuby on it and create your own microcontroller application with ease.
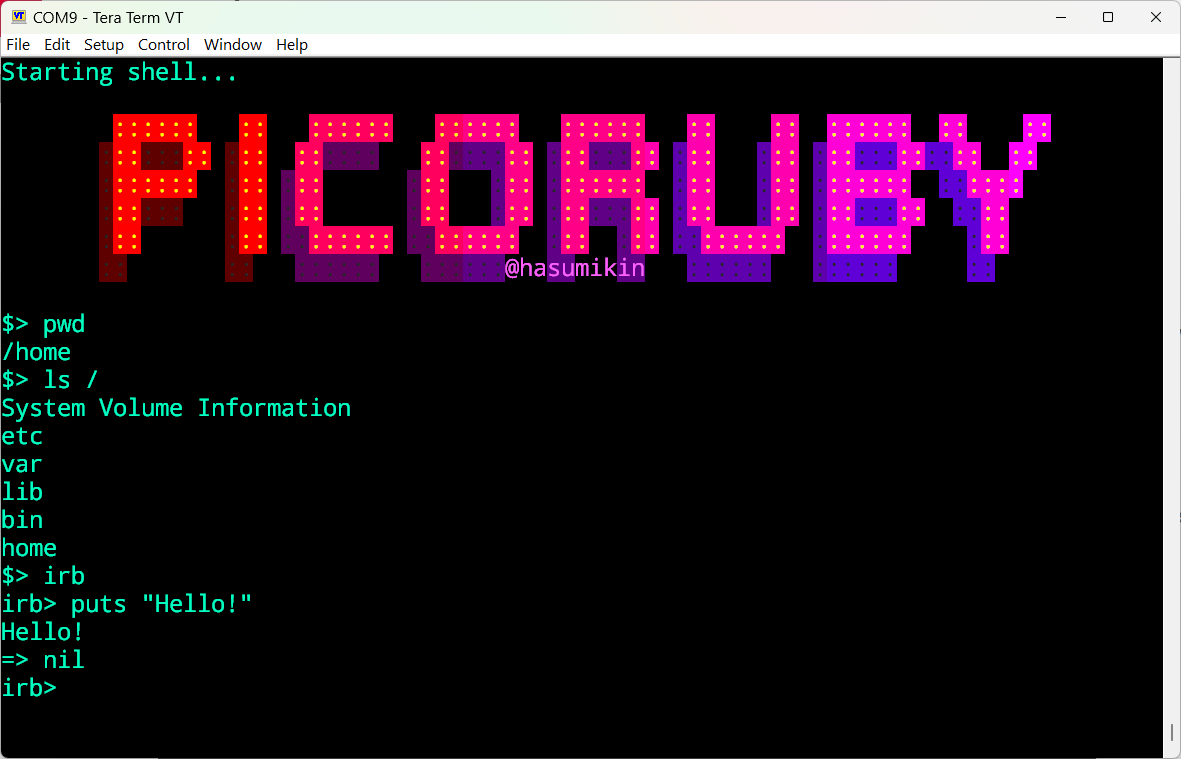
This section describes how to set up R2P2 and provides general information for R2P2 newbies.
NOTICE: Laptop Security Settings
If your laptop is configured to prohibit writing to USB memory devices, likely due to your company’s security policy, installing UF2 will not be doable😣
However, since MSC is only required for installing UF2, you can ask the instructor or other participants for help with just that step at the workshop venue. If you’re tackling this on your own, you’ll need another PC to complete the process.
Workshop Organizers: You can set up a dedicated “Firmware Flashing Station” using r2p2-installer. This allows participants with restricted PCs to flash R2P2 firmware by simply connecting their Pico to a Raspberry Pi Zero.
Install R2P2 into Raspi Pico
Download
There are two ways to download the R2P2 binary:
Method 1: Automated Download (Recommended)
First, navigate to the directory where you want to download the binary:
cd path/to/your/directory
Then run the following command in your terminal:
curl -fsSL https://picoruby.org/r2p2-latest.sh | sh
This script will:
- Display available binaries for Raspberry Pi Pico series
- Download the selected binary from GitHub and decompress it in the current directory automatically
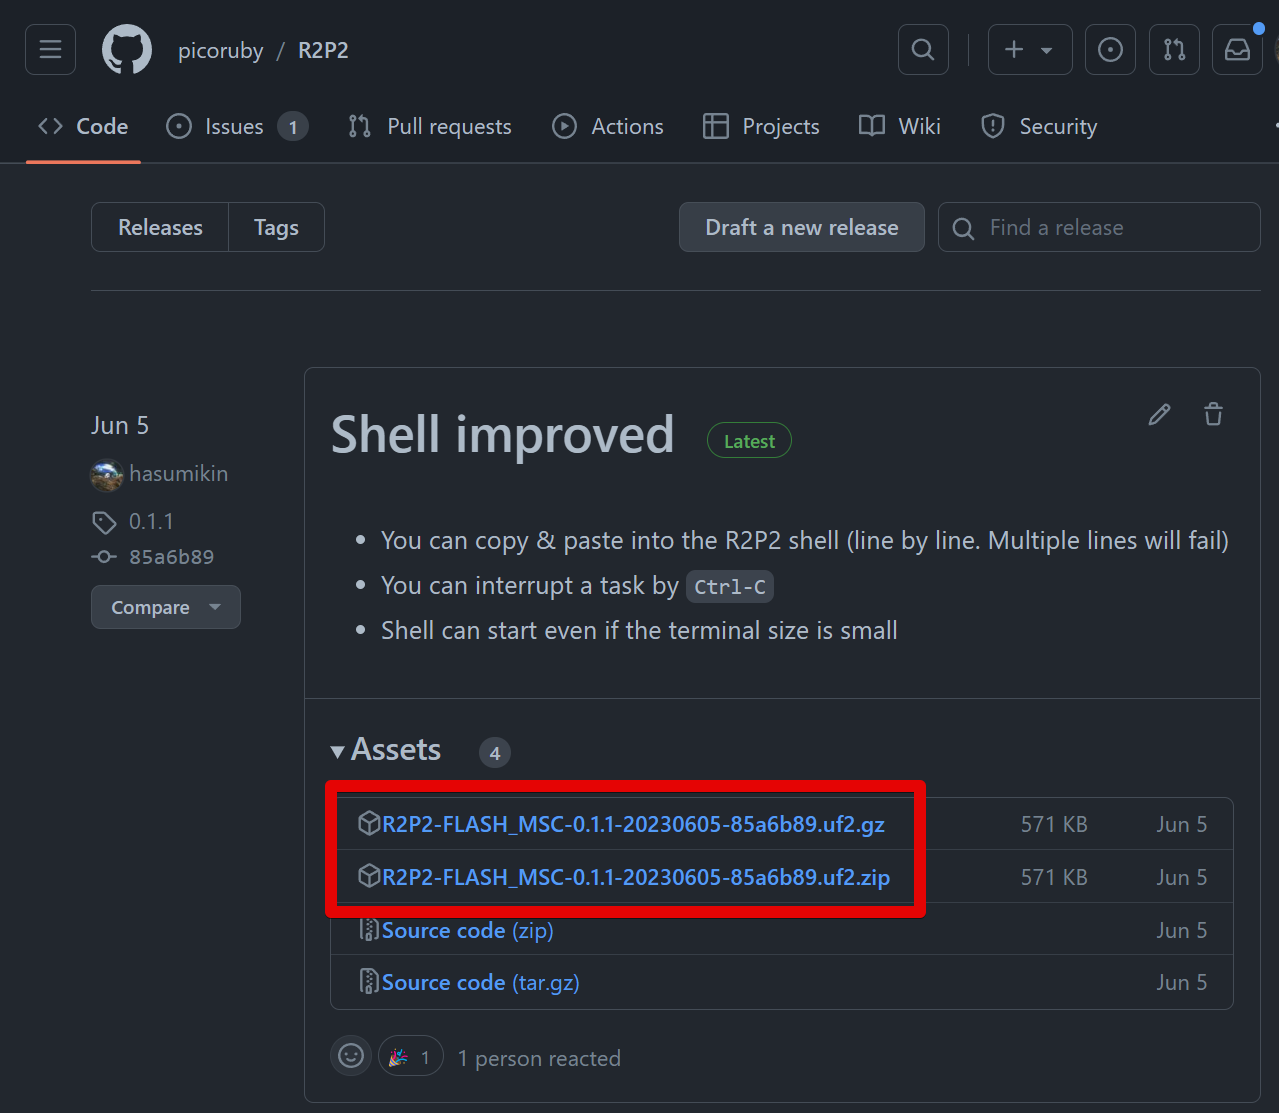
For downloadable options, see the image in the section below.
Method 2: Manual Download
-
Download the latest R2P2-PICORUBY-*.uf2 from GitHub https://github.com/picoruby/picoruby/releases/latest (Of course, unzip or tar it)
Install the UF2 File
Regardless of which download method you used, you need to manually install the UF2 file to your Pi Pico. (Note: If you are at a workshop that provides a Firmware Flashing Station, this step happens automatically upon connection.)
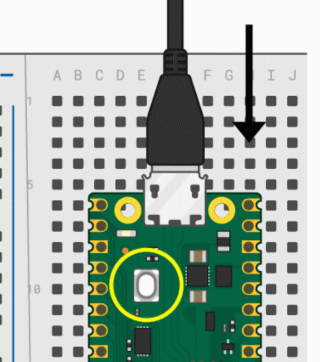
-
Connect Pi Pico and PC while pressing the BOOTSEL button. Then you’ll find RPI-RP2 (for Raspi Pico) or RP2350 (for Pico2) drive in file manager (File Explorer or Finder)
-
Drag & drop R2P2-*.uf2 into RPI-RP2 (RP2350) drive

-
After the UF2 file is copied, the Pico automatically reboots and the RPI-RP2 (or RP2350) drive disappears from your file manager.
For Workshop Participants: What to Bring on the Day
- USB Cable
- Microcontroller side: Micro-B (for Raspberry Pi Pico) or USB-C (for M5Stack)
- PC side: Compatible with your laptop (Type-A, Type-C, etc.)
- Required: Data communication capable (charging-only cables won’t work)
- Glasses: Workshop will be detailed work, so bring glasses if you are not confident in your eyesight
- Tweezers: Not required, but for handling small components, they will be very helpful
For Workshop Organizers
If you are hosting a workshop and expect participants with restricted laptops (e.g., company-issued PCs), you can set up a dedicated “Firmware Flashing Station” using r2p2-installer. This allows participants to flash R2P2 firmware by simply connecting their Pico to a Raspberry Pi Zero, bypassing their own PC’s security restrictions.